I’ve been pondering buying a new telescope for a little while now, after seeing one which appeared reasonable for £200 in Canterbury. I found F1 Hobbies and Telescopes via a Google search as the nearest telescope seller in the area, and took a trip to see what they had to offer.
After a good talk with the shop-keep, I was clearer in my mind what I wanted to get and what results I was looking to achieve. In the end, I’d settled on eventually buying a new mount (the Skywatcher EQ5 with SynScan or the Celestron CG-5 with NexStar) and attaching the DSLR to it, or using a webcam (eventually with something like a good Philips Toucam) plus an adapter to get it connected to my telescope.
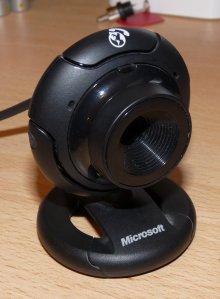
I’m a little way off getting the Toucam, so decided to see what I could do with what I have lying around. I’ve got a Microsoft LifeCam VX-1000 that I’ve had for a while and don’t use, so am going to be taking that apart to remove the lens and make it partially suitable for some astrophotography.
***Big BIG thanks to astrosphere.toile-libre.org/?p=161 for having done this first, I wouldn’t have known which bits to remove otherwise, it’s a shame it’s in French (for me, as I don’t really understand French) but Google Translate works well to get the idea.***
Step 1-Remove the stand
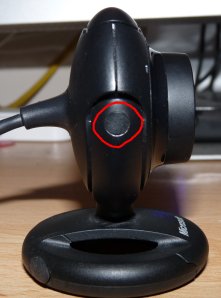
You need to remove the rubber covers from the side of the camera to get to the screws underneath, and then undo the screws. The rubbers pop off with a small flat-headed screwdriver to help them on their way.
The screws are very small, I have a 75mm x No. 0 Phillips screwdriver that was small enough to undo them. The stand will come away at this point, leaving two rubber grommets behind, remove these too.
Step 2-Open the case
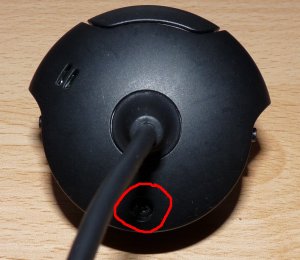
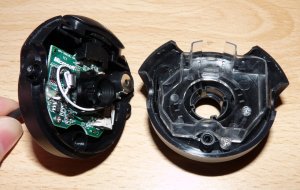
On the back of the camera is a small screw, undo it to open the casing apart DO NOT LOSE THE SCREW, YOU NEED IT TO PUT THE CAMERA BACK TOGETHER!!!
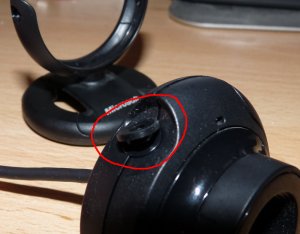
There a two clips either side of the button on the top of the camera that will be holding it together.
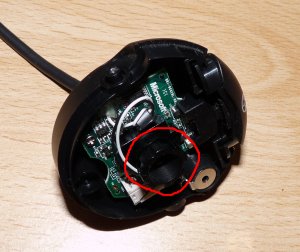
Step 3-Remove the Lens
Unscrew (with fingers) the lens, and you’re done with the modification.
Step 4-Put it back together
Refit the case and screw it back together. You can refit the stand if need be-I did so I didn’t end up losing the parts. Be aware the CMOS sensor is now exposed to the air, so will collect dust and can be scratched! A suitable cover will be needed, a lid from an old camera film is apparently a good size match.
Step 5-Attaching to the telescope
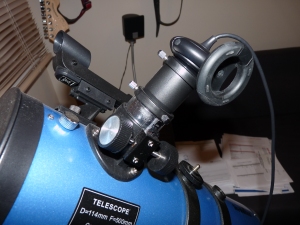
The source web site for this recommends fitting an IR filter to a lens before attaching the camera. I don’t have an IR filter, so will be skipping that step for the time being. I’m using a 2x Barlow lens to attach to the telescope, with the webcam attached to that. No special adapters are required-the Lifecam focuser is almost exactly 1.25″, the diameter of my telescope’s lenses, so fits directly on.
EDIT-Having been out and given it a go, the Barlow distorts the image far too much for any usable images to be gained. Using just the webcam alone gave better results.
When I get a bit of clear sky, I’ll give some video capture a go and see what happens.

